
Showing posts with label craft. Show all posts

August 28, 2012

No-Sew 10 Minute T-Shirt Bag

Did you know that about 100 billion plastic bags are used annually in the US alone and only about 2% of them are recycled? Check it out at www.droptheplasticbag.org.

It's a scary statistic but we can all do small things to help our earth! Using reusable bags or totes is a very easy way to do your part. It is a great alternative to buying reusable bags or taking merchandise home in plastic bags from stores and much more fashionable! They are durable and will last a long time.

Everyone at some time or another has probably had an old t-shirt that they didn't need or like anymore. Instead of tossing it make it into a reusable tote in about 10 minutes.

All you will need is an old t-shirt and a pair of scissors.

You can use a short or a long sleeved t-shirt. It won't matter since you will be cutting the sleeves off anyway.

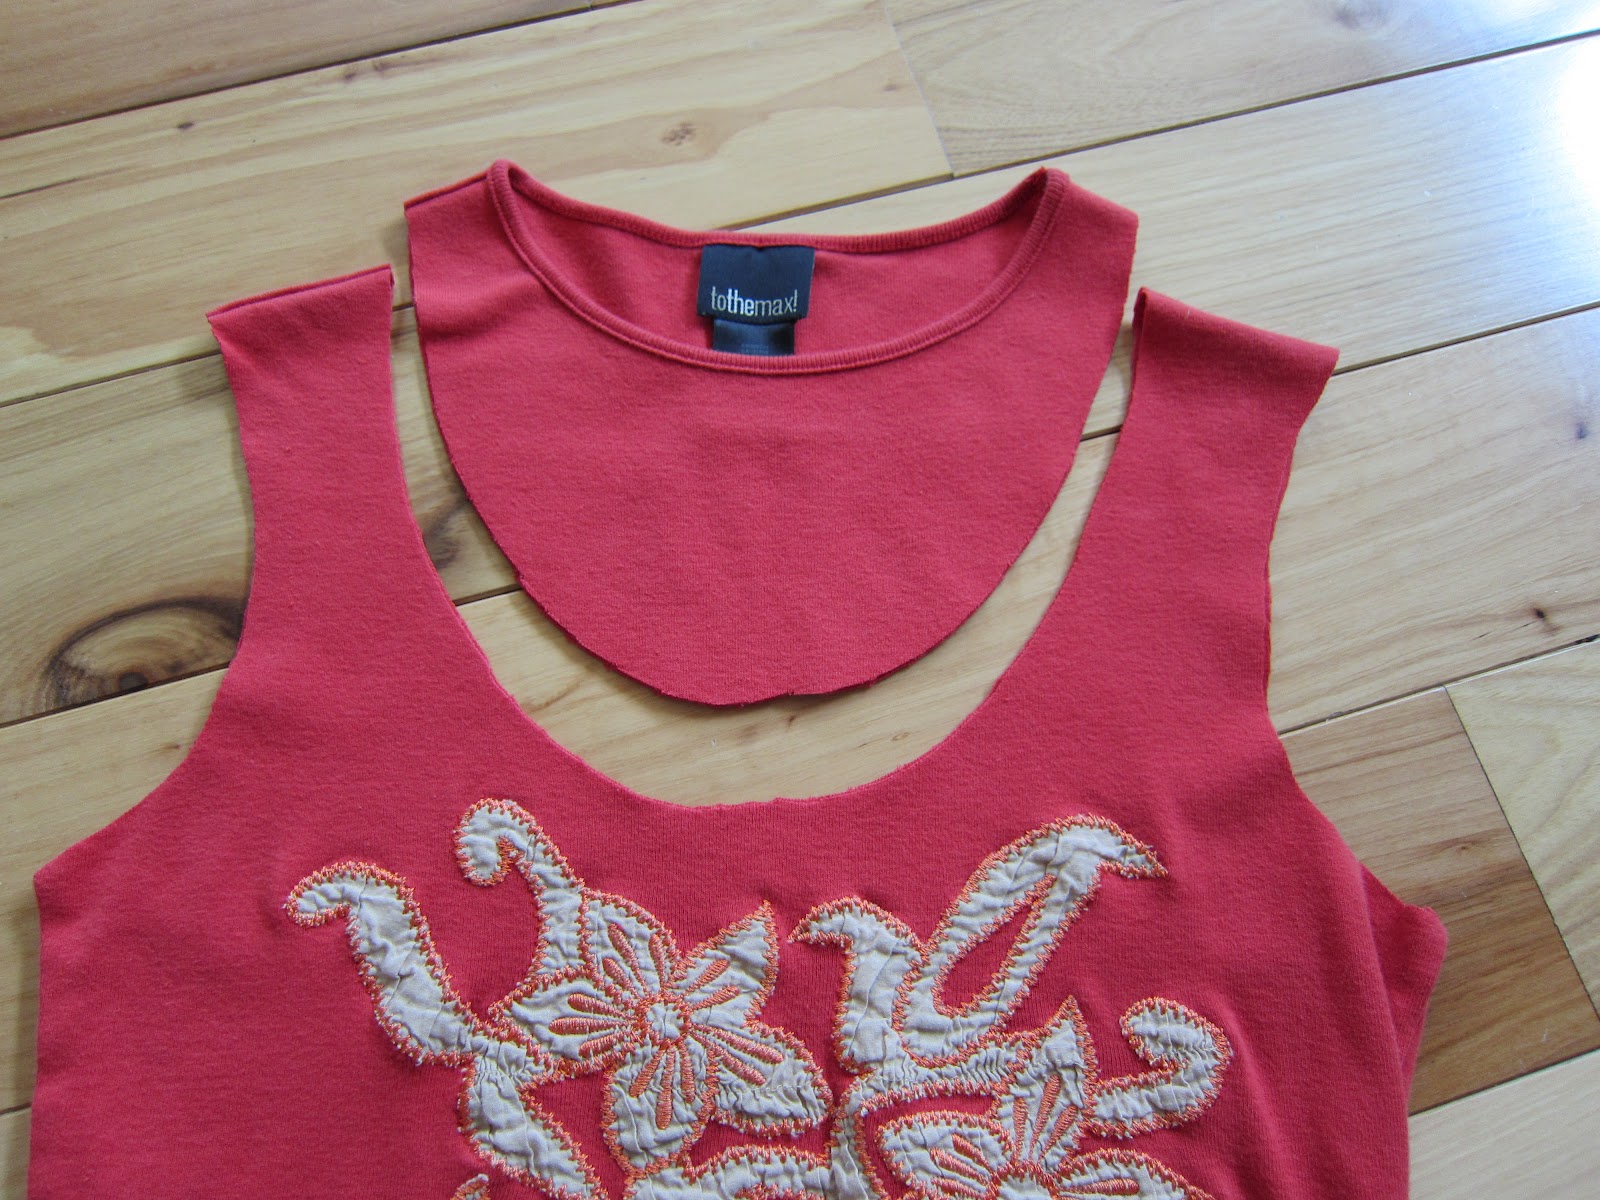
Lay your t-shirt out on a flat work surface. Using a sharp pair of scissors cut the sleeves off of your t-shirt.

You can use a large bowl and draw around it on your fabric to get a nice rounded scoop shape or just eyeball it and cut the scoop. I just eyeballed it.


At the bottom of the shirt cut slits about every inch through both layers (length will depend on the size of the shirt so you will have to make the call) long enough that you will be able to tie them twice. Remember the shirt will stretch with weight so try to make sure your tote isn't going to hang to your feet with filled with goodies!

Keep the slits lined up and starting with one end tie the aligning front and back pieces together in double knots until you have done the entire row.


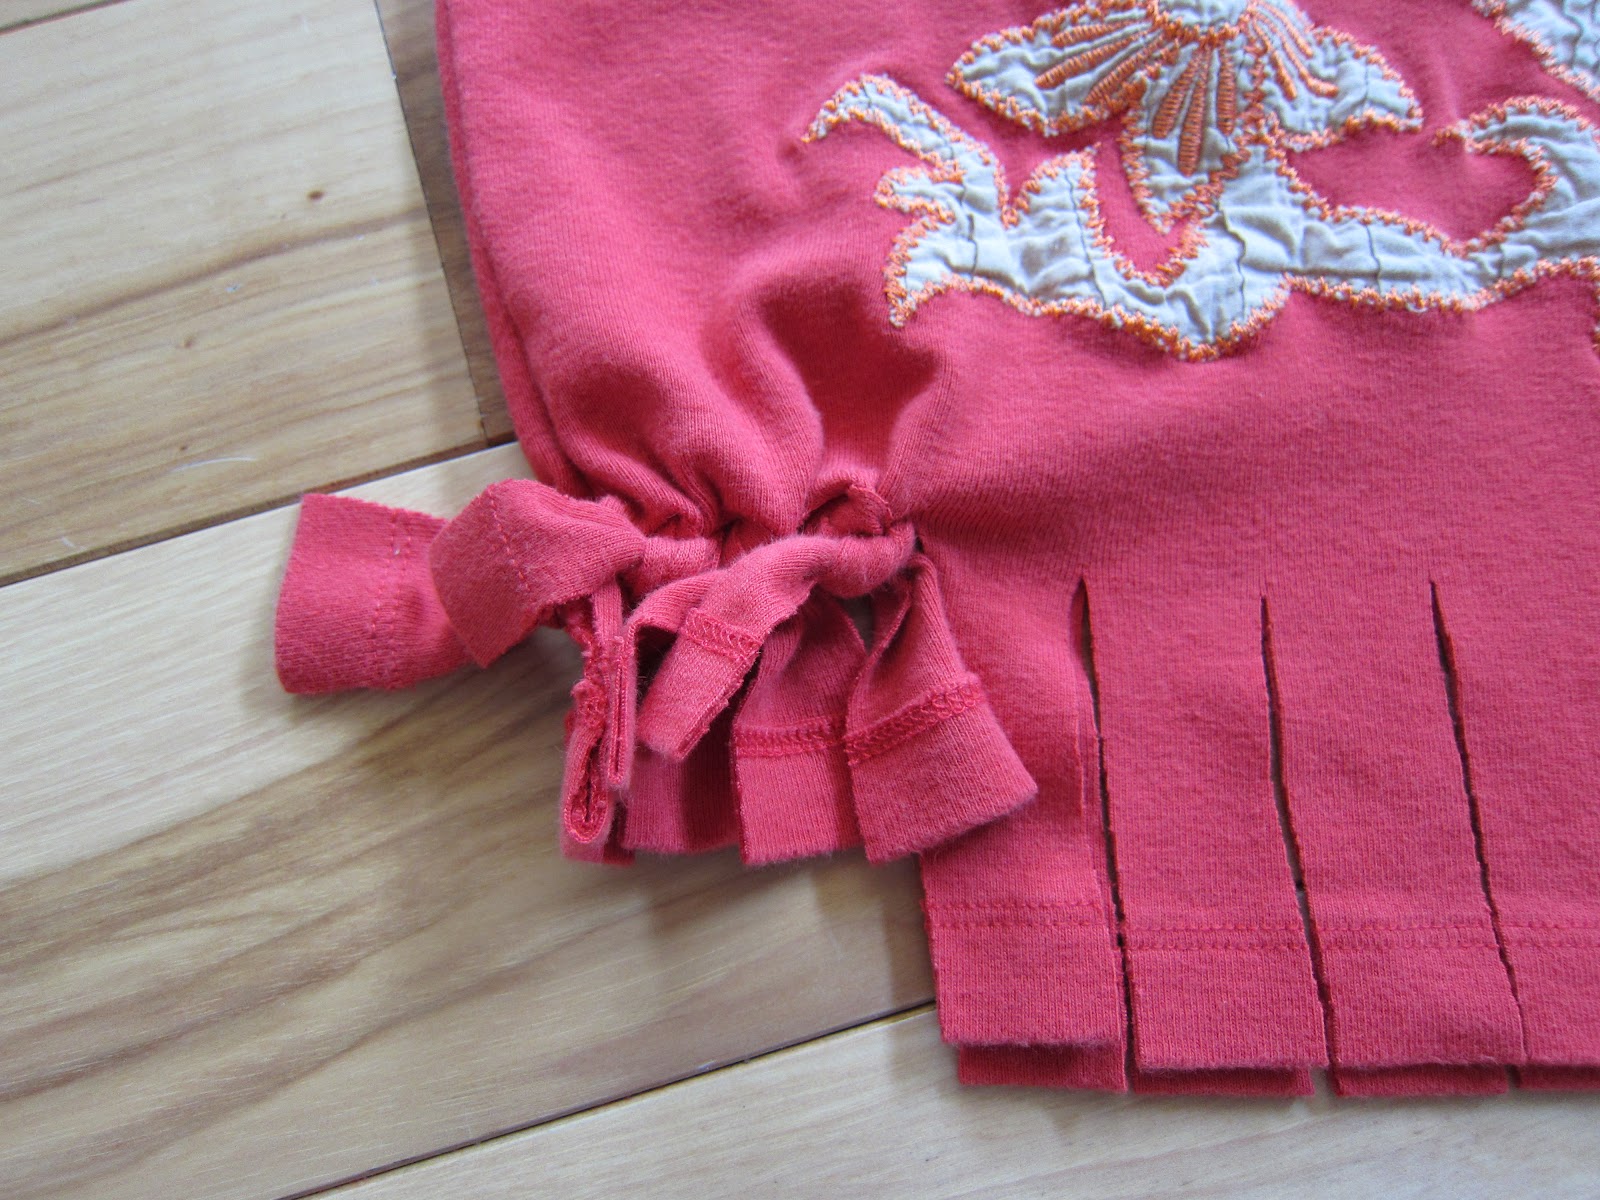
If you don't want the knots to show you can tie them on the inside for a less fringed look.

This step is optional but I chose to cut small strips of extra fabric and tie small knots on the tops of the handles for a more decorative look.


The tote is finished and ready to use! Go shopping!

February 25, 2012

Quilted Bird House and Toy Bird Rattles

When a beautiful little baby girl Lily was born and her mom (my cousin) decorated her room all in birds I decided to make this quilted bird house with a few bird rattle toys to go along with it as a baby gift.

I used scrap fabric, a few pieces of felt and a lot of thread to sew this creation. This is a combination of machine sewing, hand sewing and embroidery. I worked on it each night for about 2 1⁄2 hours and it took me about 7 days. I had fun taking pictures of it in the newly fallen snow before shipping it off to sunny Florida.


You will need the following items to construct the birdhouse:
- Scrap pieces of patterned cotton fabric – if you are buying fabric you will need no more than 1⁄4 yard of each pattern.
- 4 or 5 sheets of felt
- 4 bundles of thread
- Scrap batting – if you are purchasing the batting you will need very little – about 1/3 yard to be safe.
- Sharp scissors
- Sewing needles
- Sewing machine – it could be done all by hand but would take longer to do.
- An embroidery book if you don’t know the stitches by heart.
- A pattern of pieces you need to sew the birdhouse and birds.
- 4 bells – if you want the birds to be rattles when completed.

I originally posted this on Instructables so if you are interested in the steps to make a bird house like this one here is the link:
http://www.instructables.com/id/Quilted-Bird-House-with-Toy-Bird-Rattles/