
Showing posts with label recycle. Show all posts

August 28, 2012

No-Sew 10 Minute T-Shirt Bag

Did you know that about 100 billion plastic bags are used annually in the US alone and only about 2% of them are recycled? Check it out at www.droptheplasticbag.org.

It's a scary statistic but we can all do small things to help our earth! Using reusable bags or totes is a very easy way to do your part. It is a great alternative to buying reusable bags or taking merchandise home in plastic bags from stores and much more fashionable! They are durable and will last a long time.

Everyone at some time or another has probably had an old t-shirt that they didn't need or like anymore. Instead of tossing it make it into a reusable tote in about 10 minutes.

All you will need is an old t-shirt and a pair of scissors.

You can use a short or a long sleeved t-shirt. It won't matter since you will be cutting the sleeves off anyway.

Lay your t-shirt out on a flat work surface. Using a sharp pair of scissors cut the sleeves off of your t-shirt.

You can use a large bowl and draw around it on your fabric to get a nice rounded scoop shape or just eyeball it and cut the scoop. I just eyeballed it.



At the bottom of the shirt cut slits about every inch through both layers (length will depend on the size of the shirt so you will have to make the call) long enough that you will be able to tie them twice. Remember the shirt will stretch with weight so try to make sure your tote isn't going to hang to your feet with filled with goodies!

Keep the slits lined up and starting with one end tie the aligning front and back pieces together in double knots until you have done the entire row.


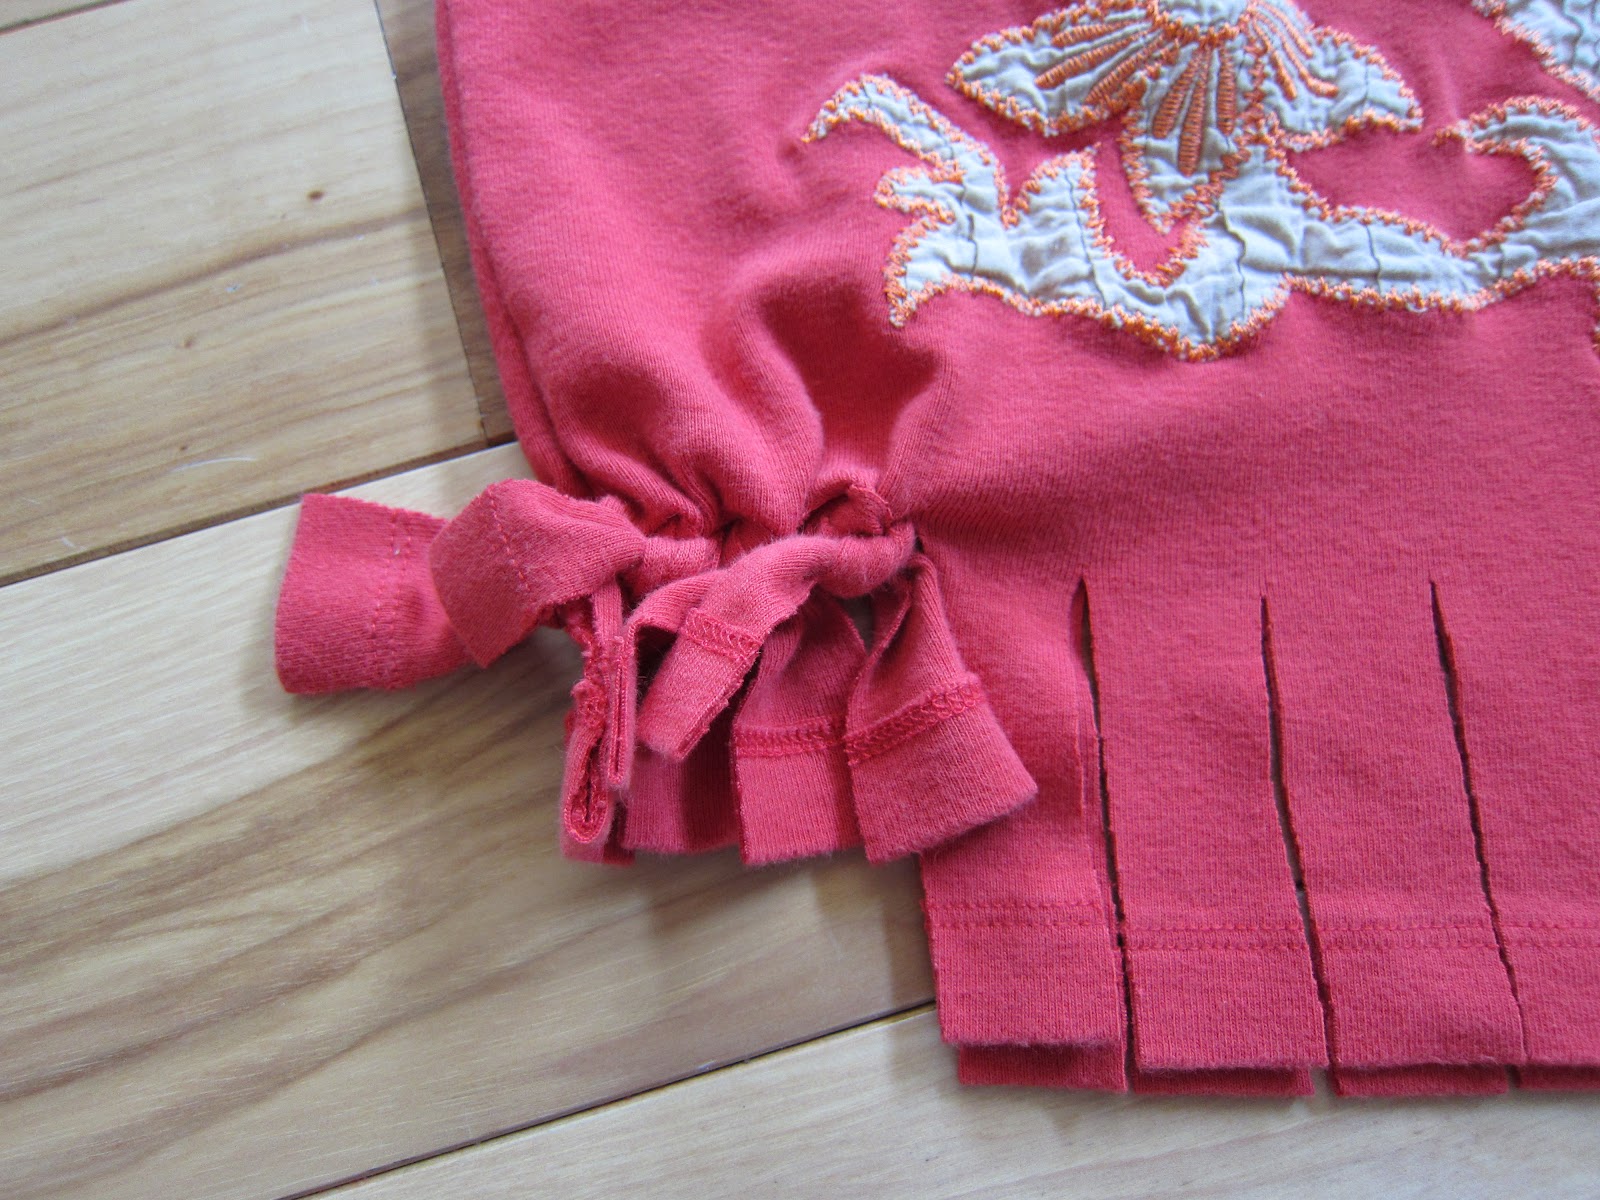
If you don't want the knots to show you can tie them on the inside for a less fringed look.

This step is optional but I chose to cut small strips of extra fabric and tie small knots on the tops of the handles for a more decorative look.


The tote is finished and ready to use! Go shopping!

February 26, 2012

Rolled Paper Candle Holder

If you are on a budget but want to give a great gift try this simple rolled paper candle holder.

It will cost next to nothing to make the candle holder as long as you have the following items in your junk drawer:

-paper cutter (or ruler and scissors)
-glue stick
-an old magazine/catalog
-pencil
-candle

**Now that you know what supplies you need let's review candle burning safety - DON'T EVER LEAVE A BURNING CANDLE UNATTENDED! This holder is, in fact, made of paper so please use common sense.


First, tear pages out of your magazine/catalog and then decide how tall you want your candle holder.

Start cutting strips of your magazine/catalog using a paper cutter or if you don't have a paper cutter use a ruler and scissors. You will want all of your strips of paper to be exactly the same width in order for your candle holder to sit flat. My paper strips are two inches wide and about 8 or 9 inches long.

**I used a Boden catalog since it has so many bright colors and bold patterns. If you are making this for someone who loves to read try using newspaper or an old book. Or, we all know someone who is afraid of color and their whole house is beige so maybe try a more muted magazine like where you can find a lot of subtle colors. You can also use old scraps of scrapbooking paper or any other paper you have sitting around.**

Once all of your paper is cut start rolling the strips of paper. With a glue stick put glue on one edge of the paper. Using a pencil (I used a tinker toy) roll the paper starting at the end without glue making sure you have a secured edge once rolled to the gluey end. Set aside and continue with the remaining paper strips. If you are following this exact pattern you will need 163 rolls - if I counted right! :)

When all of the rolled pieces are glued start assembling the candle holder. Choose a shape you want to make and again using your glue stick start gluing the sides of the rolls together. Continue gluing until you have the shape and size you want.