I love making these cupcakes. Not only are they fun because you get to pipe little chocolate bees but they are actually healthy. With all of the organic ingredients it's a great excuse to eat cupcakes for breakfast! No one will object - I promise!
Organic Honey Walnut Cupcakes
3/4 c. walnuts - toasted and finely ground
1 1/4 c. all-purpose flour
1/4 c. whole wheat flour
3/4 t. baking soda
1/4 t. salt
1/4 t. cinnamon
1/2 c. honey
1/2 c. agave nectar
1/2 c. unsweetened applesauce
1/2 c. vanilla yogurt
3 eggs
Before you get ahead of yourself you will want to toast the walnuts. Yes, you really do need to toast the walnuts. I know it's an easy step to leave out but the flavor profile is much different (and better) with toasted nuts.
Preheat oven to 350 degrees F. Toast walnuts 5-7 minutes or until you can start to smell the delightful aroma fill your kitchen. Remove from the oven and put directly into a food processor. Whiz until finely crumbled. Set aside.
In a large bowl sift dry ingredients together. Set aside.
In a medium bowl whisk all of the wet ingredients together. I've always heard to add your eggs one-at-a-time but I've never noticed a significant difference in the final outcome so I say just throw them all in at once! Add the vanilla last and whisk one last time.
Combine wet and dry ingredients together adding walnuts in last. Line cupcake tin(s) with papers and fill 3/4 full.
Bake at 350 degrees F for 15-18 minutes or until toothpick comes out clean. Let cool completely.
Homemade Whipped Cream
1 c. heavy cream
3-4 T. sugar
1 t. vanilla extract1/4 t.
vanilla bean powder (optional)
Combine all ingredients in a mixing bowl. Beat with mixer on high until stiff peaks form. Fit a sandwich bag with a large round decorating tip and fill with whipped cream.
Chocolate Bees
1/4 c. dark chocolate chips
In a microwave safe container melt chocolate 15 seconds at a time until fully melted. While chocolate is melting line a baking sheet with waxed paper and fit a sandwich bag with a small round decorating tip. Fill sandwich bag with melted chocolate and pipe a bee shape of your choice onto waxed paper.
Refrigerate until you need to garnish. If you know how to temper chocolate by all means do it! I don't so I just refrigerate until ready to serve.
Assembly
Pipe whipped cream on completely cooled cupcakes. Top with a chocolate bee. Eat and enjoy. Yum!
February 26, 2012
Bitter Lime Wheel Cookies
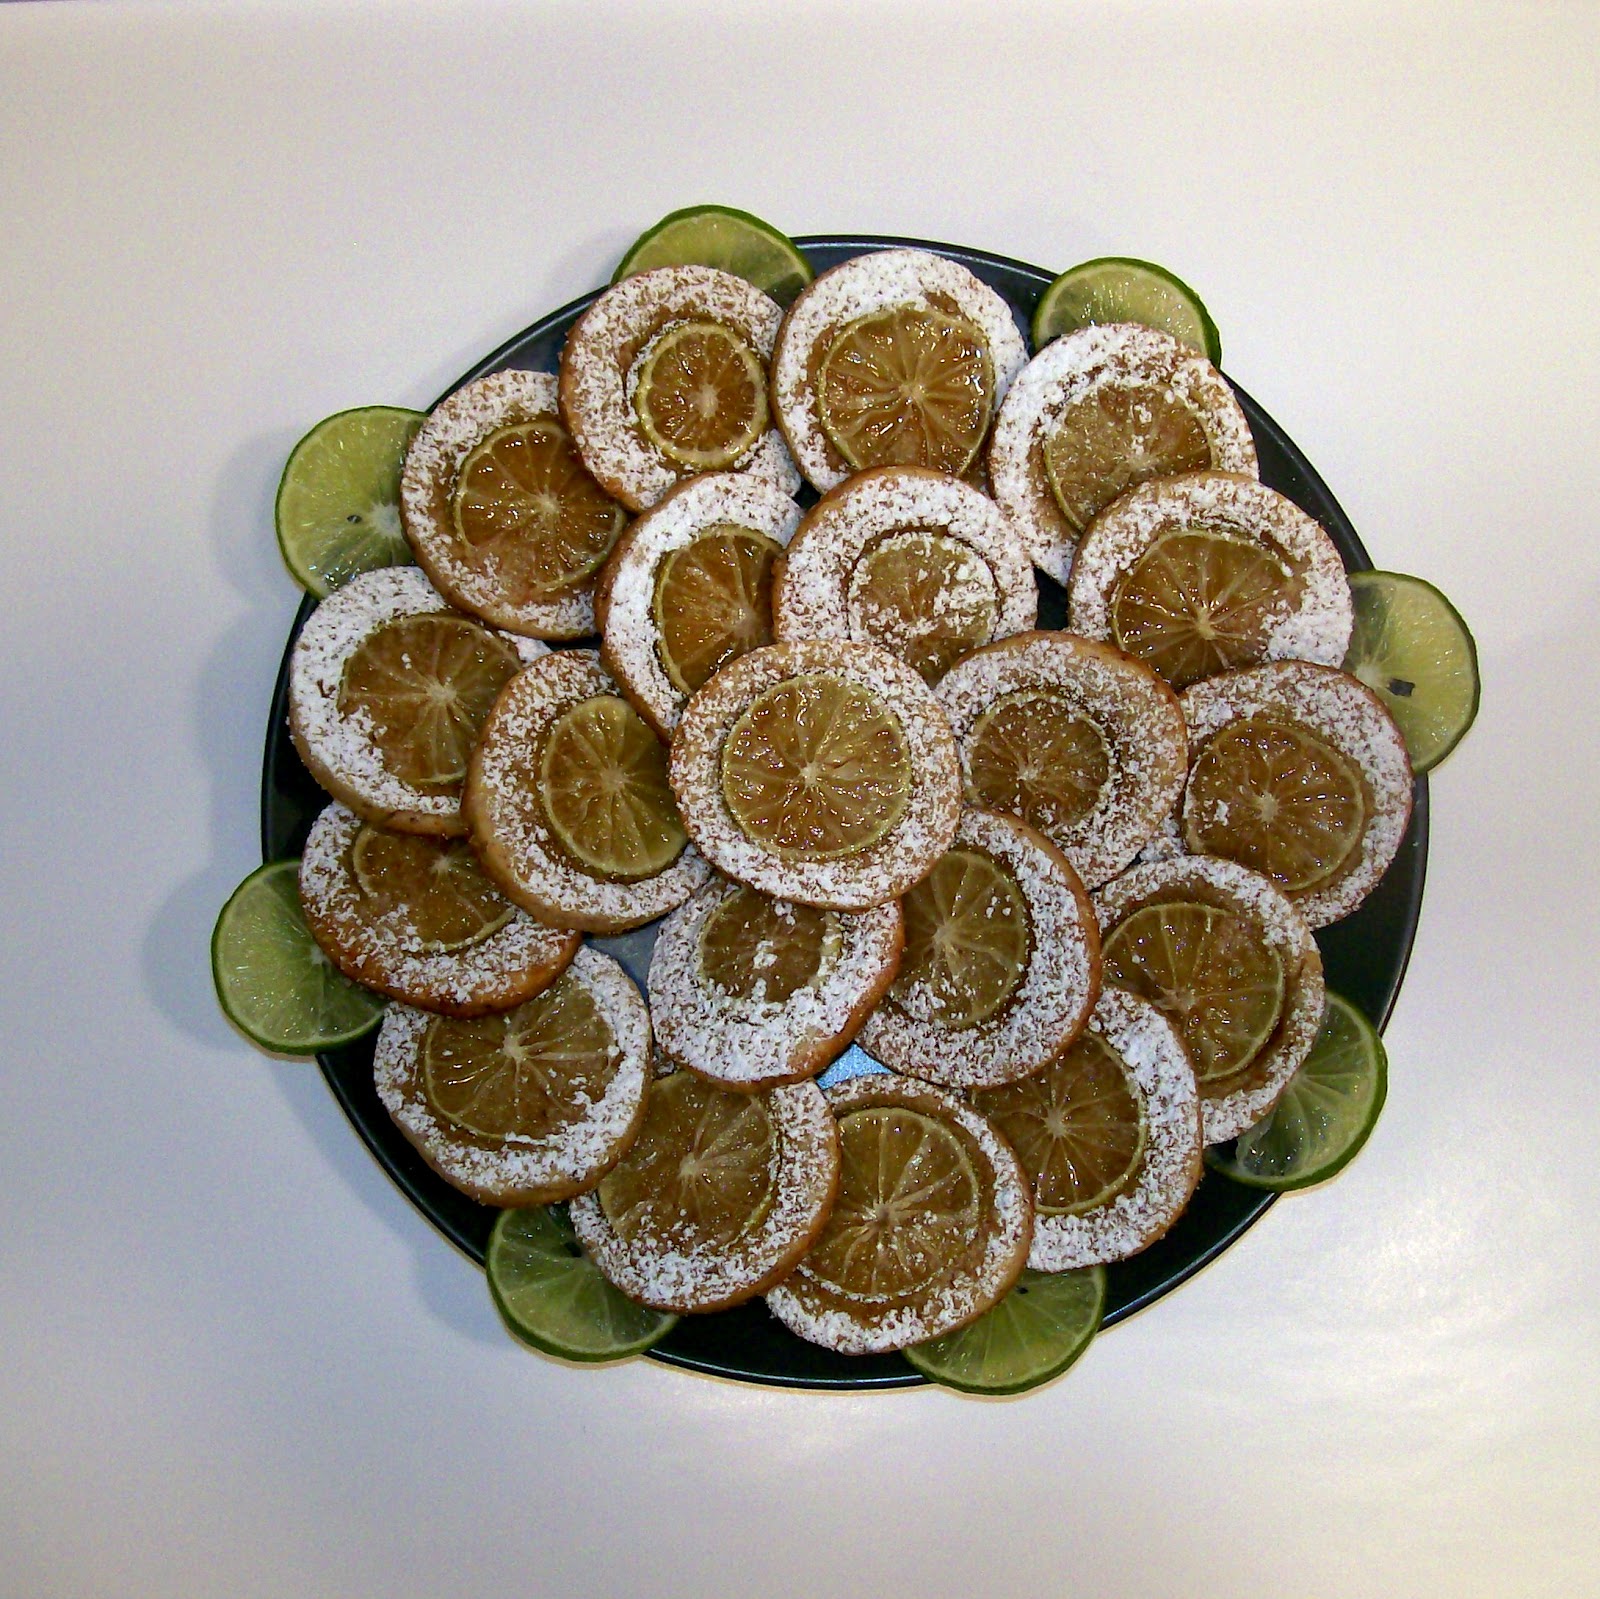
When my mother-in-law sent me a box of freshly picked organic key limes from her tree in AZ I knew exactly what to do with them!
If you are a tea drinker or a bitter tea lover (which I am) you should definitely try these cookies with your next cup of tea! They are a little sweet with a touch of bitter and have a great texture from the ground almonds.
Bitter Key Lime Wheel Cookies
10 T. butter, softened
1 T. key lime zest
1 egg
3⁄4 c. confectioners’ sugar, extra for dusting
1⁄2 c. sugar, extra for sprinkling
1⁄4 cup brown sugar
2 c. flour
1 c. almonds, finely ground
1 T. fresh squeezed key lime juice
6 key limes - give or take depending on size and juiciness.
Finely grind almonds in a food processor until they resemble coarse sand.
Using a microplane grate enough key limes to get 1 tablespoon of zest. Cut those same limes to get 1 tablespoon of juice.
In a large mixing bowl beat butter, zest and egg until incorporated. Mixture will look lumpy. Add sugars and mix. Add flour and stirring briefly, then add almonds. Once dough is well-combined form into two logs and wrap with parchment paper. Place in the freezer until hard, approximately 1 1⁄2 hours.
While dough is in the freezer use remaining key limes and cut with a mandolin. Please use caution and the finger guard with this slicing device. It is extremely sharp.
Preheat oven to 350 degrees F. Line a baking sheet with parchment paper
Take dough out of the freezer and remove parchment paper wrapping. With a sharp knife cut slices 1/4 inch thick. This dough won't rise or spread so arrange close together on baking sheet. Top each cookie with a key lime slice and firmly press the lime slice into the cookie dough. Sprinkle liberally with granulated sugar.
Bake for 5-7 minutes or until lightly browned. Remove from oven and cool on a wire rack.
While cookies are still warm dust with confectioners' sugar. The limes will absorb the sugar leaving a wheel shape around the edge. You can eat the lime with the cookie or remove it for less of a bitter flavor. It's personal preference for bitterness. Great with tea!
Eat and enjoy. Yum!
If you are a tea drinker or a bitter tea lover (which I am) you should definitely try these cookies with your next cup of tea! They are a little sweet with a touch of bitter and have a great texture from the ground almonds.
Bitter Key Lime Wheel Cookies
10 T. butter, softened
1 T. key lime zest
1 egg
3⁄4 c. confectioners’ sugar, extra for dusting
1⁄2 c. sugar, extra for sprinkling
1⁄4 cup brown sugar
2 c. flour
1 c. almonds, finely ground
1 T. fresh squeezed key lime juice
6 key limes - give or take depending on size and juiciness.
Finely grind almonds in a food processor until they resemble coarse sand.
Using a microplane grate enough key limes to get 1 tablespoon of zest. Cut those same limes to get 1 tablespoon of juice.
In a large mixing bowl beat butter, zest and egg until incorporated. Mixture will look lumpy. Add sugars and mix. Add flour and stirring briefly, then add almonds. Once dough is well-combined form into two logs and wrap with parchment paper. Place in the freezer until hard, approximately 1 1⁄2 hours.
While dough is in the freezer use remaining key limes and cut with a mandolin. Please use caution and the finger guard with this slicing device. It is extremely sharp.
Preheat oven to 350 degrees F. Line a baking sheet with parchment paper
Take dough out of the freezer and remove parchment paper wrapping. With a sharp knife cut slices 1/4 inch thick. This dough won't rise or spread so arrange close together on baking sheet. Top each cookie with a key lime slice and firmly press the lime slice into the cookie dough. Sprinkle liberally with granulated sugar.
While cookies are still warm dust with confectioners' sugar. The limes will absorb the sugar leaving a wheel shape around the edge. You can eat the lime with the cookie or remove it for less of a bitter flavor. It's personal preference for bitterness. Great with tea!
Eat and enjoy. Yum!
Moving Gingerbread Train Cookie
My motivation to attempt this moving train cookie started when my four year old son was decorating basic gingerbread cookies with frosting. He had a cut-out of a train and after he decorated it he said, "Mommy, I want this train to drive." I thought to myself.....there's really no reason I can't do that! If you want to attempt this you will, however, need a very powerful little moving contraption to build your train around. I used a (modified) wind-up Lego car but some of the Tomica cars are also very powerful and would work quite well.
You will need the following recipes and items:
Gingerbread Cookies
1 c. butter
1 c. brown sugar
1 c. molasses
1 egg
5 c. flour
3/4 t. baking soda
3 t. pumpkin pie spice
1 c. butter
1 c. brown sugar
1 c. molasses
1 egg
5 c. flour
3/4 t. baking soda
3 t. pumpkin pie spice
In a large mixing bowl cream butter and brown sugar together. Add molasses and egg. Mix well.
Sift flour, baking soda and pumpkin pie spice together and add to wet mixture. The dough will be tough to mix. If you have a stand mixer use it! Divide your dough in half, wrap with plastic wrap and chill until firm - about 1 1/2 hours.
Preheat oven to 350 degrees F. Draw and cut out a pattern of pieces you will need to cut from the dough to construct a train. On a lightly floured surface roll out dough to approximately 1/8 to 1/4 inch thick. Using a table knife cut the shapes you will need. Transfer pieces to a parchment lined baking sheet and bake for 12 - 15 minutes. You will want the cookies to be hard enough as to not break during assembly.
Buttercream Frosting
2 lbs confectioners' sugar
1 1/4 c. butter
1/2 c. water
1 t. vanilla Extract
In a large mixing bowl combine powdered sugar, 1 c. butter, water, and vanilla. Beat on medium speed until smooth. Melt remaining 1/4 cup of butter in the microwave and add to frosting. Beat again until smooth and creamy.
Using food coloring choose colors and mix until color is consistent. I like to make more frosting and colors than needed.....just in case! You can always refrigerate the leftovers for your next creation. Spoon frosting into prepared piping bags.
Royal Icing
1 1/2 c. confectioners' sugar
1/8 t. cream of tartar
1 egg white
In a small mixing bowl sift together powdered sugar and cream of tartar. Using and electric mixer add egg white and beat until it can hold its shape. Spoon into a prepared piping bag.
**There is much controversy over using raw eggs in royal icing because of the possibility of bacteria. I only use local organic eggs so I feel fine about it, but feel free to use what ever royal icing recipe you are comfortable with.
Decorating Bags
Decorating Tips and Couplers
Dragees
Food Coloring
Train Pattern
Candies of some sort to fill the coal car.
Something powerful to move your train!
Subscribe to:
Posts (Atom)